
Edit issue content
Write descriptions, save changes, add comments, and recover drafts.
The issue detail separates its content from its properties. Use Edit issue for the title, description, and dates. Select a property value directly for status, priority, project, estimate, or labels.
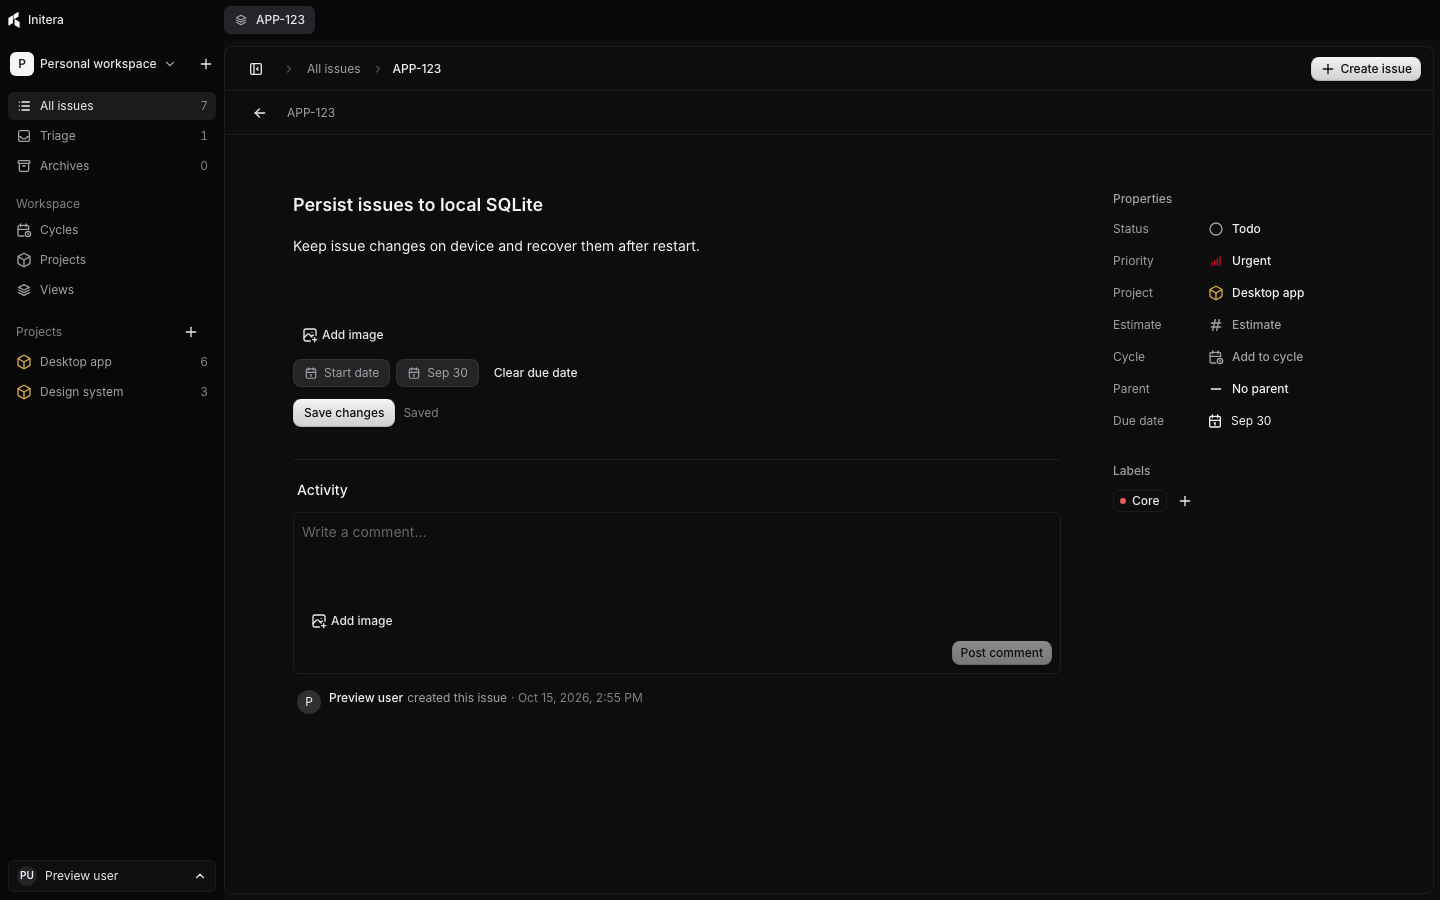
Edit the title or description
- Open the issue from All issues, a board card, or a search result.
- Select Edit issue in the detail header, or press E while the issue is open.
- Change the title or description. Use the date controls in the same editor if the plan changed.
- Select Save changes. Wait for Saved before you close the editor.
The title should identify the work in a list. Use the description for steps, expected behavior, decisions, links, or acceptance checks. A long description is useful when all parts share one status; use sub-issues when they need separate progress.
Format the description
The editor supports paragraphs, headings, lists, checklists, code, links, and images. Select text to format it from the toolbar. Type / in an empty block to open block commands.
Paste or add an image when a visual explains the work better than text. The desktop app stores uploaded images in its media folder and keeps references in the issue. A local backup or portable export includes those files. If an image file is missing, the editor shows a placeholder instead of a blank area.
If a save fails
The editor keeps a recovery draft for content that has not reached storage. If the save state says Not saved, select Retry save. Leave the editor open until the state changes to Saved, or keep the recovery draft and return later. The app asks about pending content writes when you close it.
A recovery draft is separate from the last saved issue. Another view may still show the saved version until the pending write succeeds. Do not discard the recovery draft until you have checked the result.
Add or change a comment
- Scroll to Activity on the issue.
- Enter a comment in Write a comment.
- Select Post comment. The comment appears in the timeline with your name and the time.
- Select Edit beneath your comment to revise it, then Save comment. Select Delete and confirm to remove its text.
Deleted comments leave a “Comment deleted” entry in the timeline. The timeline also records changes to the issue's status and other properties. Select Load older activity when the first page does not reach the entry you need.