
Workspaces
Keep separate sets of work and switch between them.
Choose a workspace
Look at the name at the top of the sidebar before you create an issue or project. Every project, issue, label, saved view, cycle series, and workflow status belongs to one workspace. The command bar searches the workspace you have open.
Select the workspace name to open the picker. The current workspace has a check mark. Choose another name to switch. You can also press O then W outside a text field and choose a workspace from the command bar.
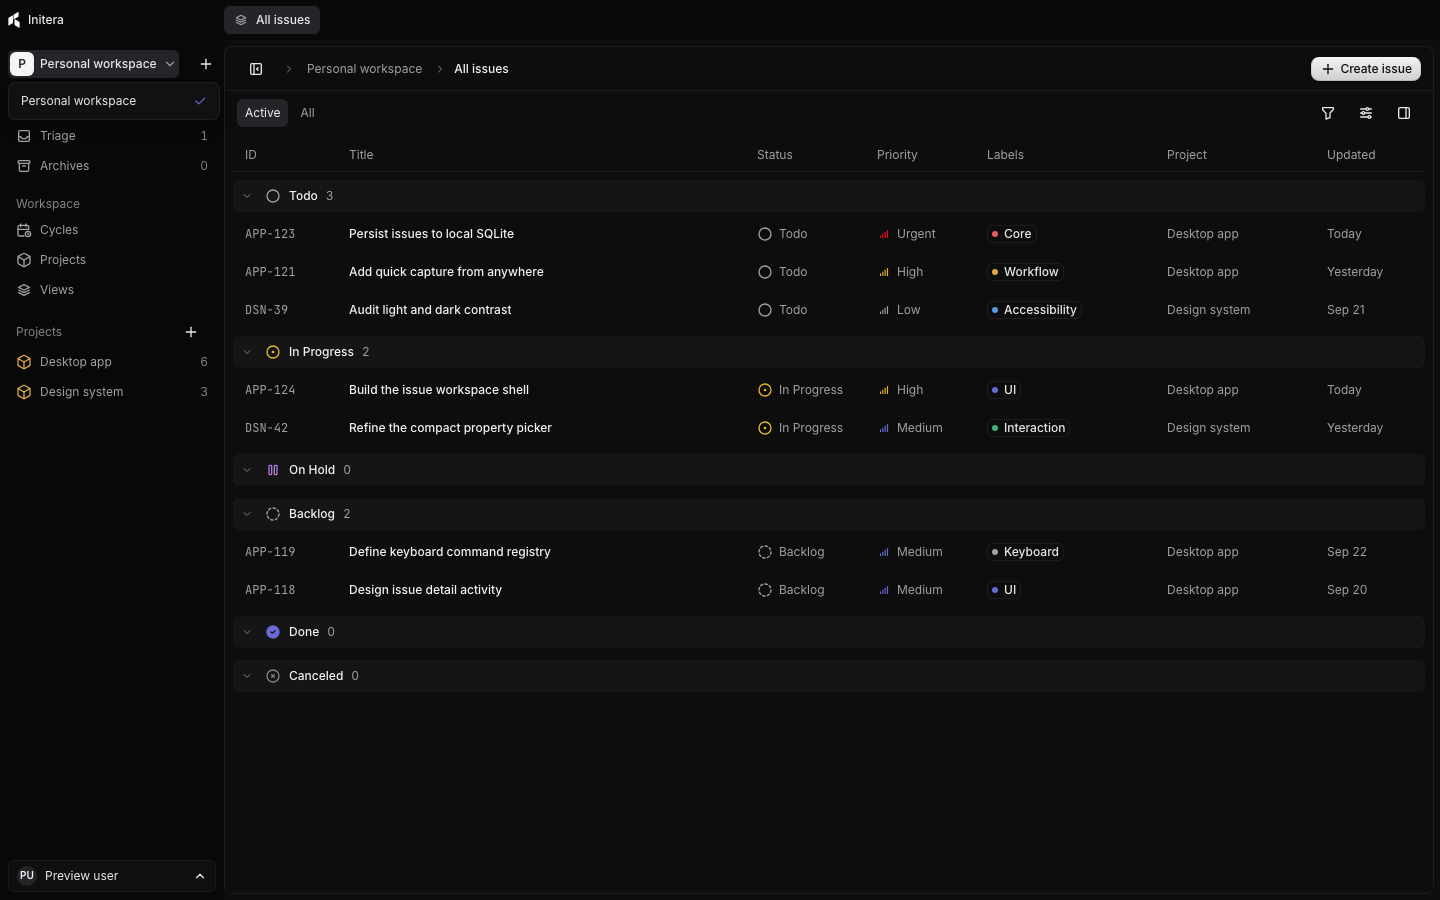
When you switch, wait for the destination screen. The app finishes pending content saves, changes the active workspace, and shows a confirmation toast. Check the sidebar name before you continue editing.
Create another workspace
Select the plus button beside the workspace name, enter a name, and select Create workspace. You can use N then W from the keyboard. The app opens the new workspace after creation.
The plus button beside Projects creates a project in the current workspace. Check which plus button you selected if a creation dialog does not match your intent.
A new workspace starts without the projects or issues from your other workspaces. If you want a project in the new workspace, create it there. The project picker on an issue shows projects from the active workspace.
Change names
Open Settings → Workspace. Edit Your name or Workspace name, then select Save names. Your name appears on new comments, project updates, and activity. The workspace name appears in the sidebar and picker.
Renaming a workspace changes its display name. It does not move its issues or projects. Rename a workspace when the work stays together but its name no longer fits.
Find local files
The installed app shows Data folder under the workspace name fields in Settings. It stores the SQLite database and uploaded media in that folder. If you copy only the database file, image references may point to media that you left behind.
Use Create backup to keep a restorable copy in the app data folder. Use Export workspace to save a portable archive outside that folder. Read Backups and restore before replacing data.
Check an empty screen
If you expected to see work but the list is empty, open the workspace picker and check the selected name. Then check whether the list shows Active or All, and clear its filters. Archived issues live under Archives; archived projects appear under Archive and trash on the Projects page.
If you imported a file, check the workspace name in the import summary. Import replaces the current workspace after you confirm it; the app keeps a recovery copy. See Backups and restore for the review step.